
Accessing your pay stubs is crucial for managing your finances, verifying income, and fulfilling various documentation needs. If you work for Chase, obtaining your pay stubs is a straightforward process, thanks to the bank’s digital systems. This article provides a step-by-step guide on how to get your pay stubs from Chase, including using a free paystub maker to generate pay stubs if necessary.
Understanding Pay Stubs and Their Importance
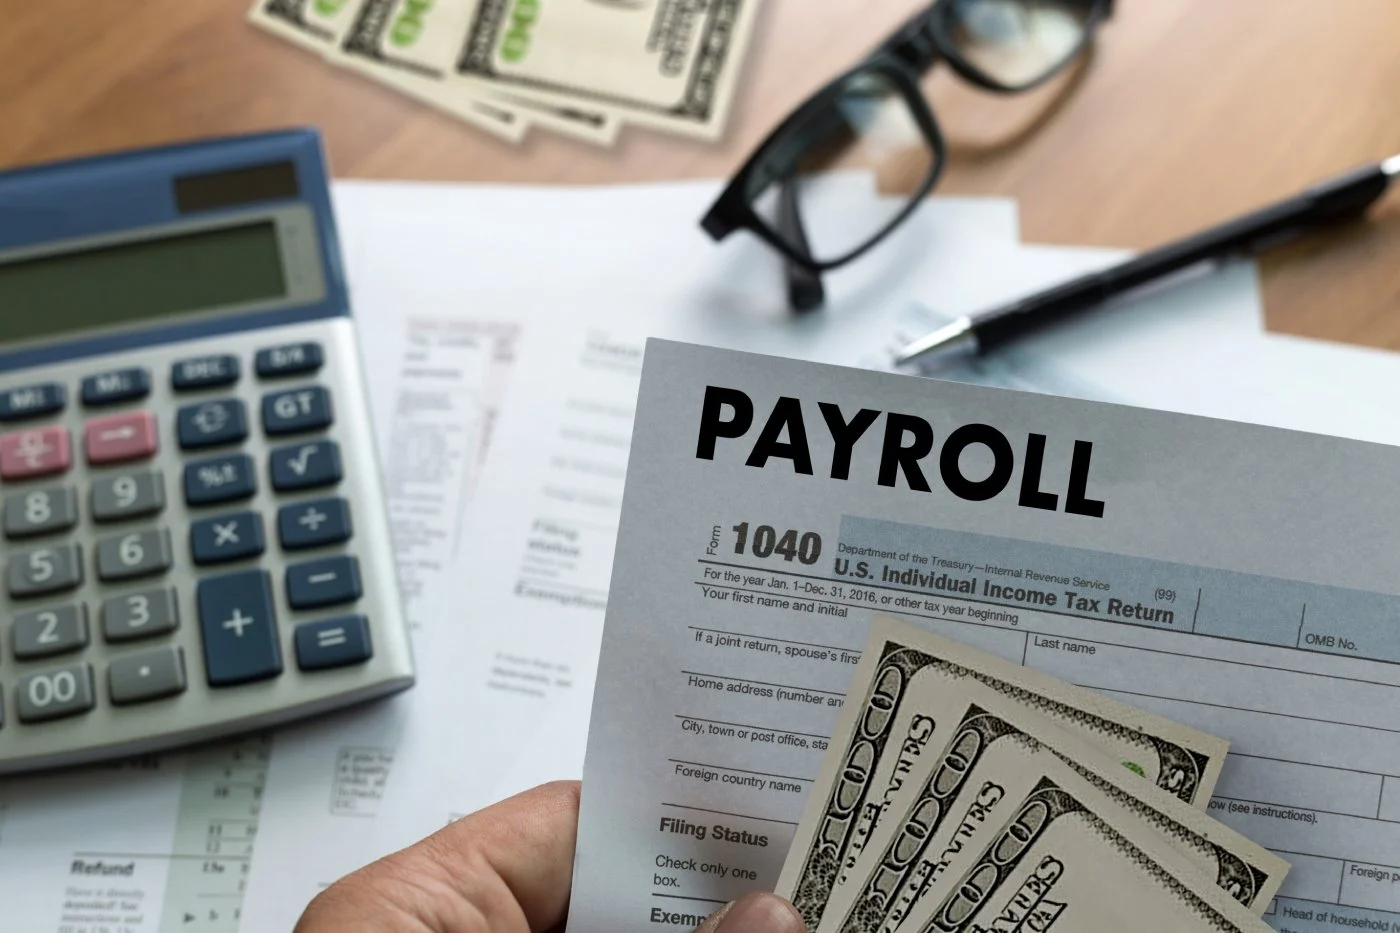
A pay stub is a financial document that provides detailed information about your earnings and deductions for a specific pay period. Key components of a pay stub include:
- Gross Pay: Total earnings before deductions.
- Deductions: Includes federal and state taxes, Social Security, Medicare, and other withholdings.
- Net Pay: Amount you take home after all deductions.
- Pay Period: The time frame for which the pay stub is issued.
Pay stubs are essential for:
- Tax Filing: Accurate tax return preparation.
- Income Verification: Required for loans, rentals, and other financial processes.
- Record Keeping: Helps track earnings and deductions over time.
How to Access Your Pay Stubs from Chase
1. Log In to the Chase Employee Portal
The Chase employee portal is your primary tool for accessing pay stubs and other employment-related information. Follow these steps to log in:
- Visit the Portal: Open your web browser and go to the Chase employee portal. This is typically accessible through the Chase intranet or an internal HR system.
- Enter Your Credentials: Use your employee ID and password to log in. If you’re logging in for the first time, you may need to set up your account or follow instructions sent to your work email.
2. Navigate to the Pay Stub Section
Once logged in, you need to find the section where pay stubs are located. Here’s how to do it:
- Access the Employee Dashboard: After logging in, you’ll be directed to your employee dashboard, which contains various options related to your employment.
- Find Pay Information: Look for a section labeled “Pay Information,” “Payroll,” or “Pay Stubs.” This section may also be under “Financials” or “Documents.”
3. View and Download Your Pay Stubs
In the pay information section, you can view and download your pay stubs. Here’s what to do:
- Select the Pay Period: Choose the pay period for which you need the pay stub. You should see a list of available pay stubs for different dates.
- View Details: Click on the pay stub you want to view. You’ll see detailed information about your earnings, deductions, and net pay.
- Download or Print: If you need a physical copy, download the pay stub as a PDF and print it. For digital records, you can simply save the PDF to your computer.
Using a Free Paystub Maker
In some cases, you might need to generate a pay stub manually or if you’re an independent contractor and don’t have access to Chase’s system. A free paystub maker can help you create a professional pay stub. Here’s how to use one:
1. Choose a Reliable Free Paystub Maker
Select a trustworthy free paystub maker that offers accurate calculations and customization options:
- Reputation: Look for a paystub maker with positive reviews and a good reputation. Check user feedback and ratings.
- Features: Ensure the tool provides features like customizable templates, accurate calculations, and the ability to handle various deductions and tax rates.
- Ease of Use: Opt for a tool that is user-friendly and guides you through the process.
Some popular free paystub makers include:
- PayStubCreator: Offers customizable templates and accurate calculations.
- StubCreator: Provides various templates and user-friendly features.
2. Gather Necessary Information
Before creating a pay stub with a free paystub maker, gather all required information:
- Personal Details: Employee’s name, address, Social Security number, and employee ID.
- Employer Information: Company name, address, and Employer Identification Number (EIN).
- Earnings Information: Gross pay, hourly rate or salary, and any bonuses or overtime.
- Deductions: Federal and state taxes, Social Security, Medicare, insurance premiums, and other withholdings.
- Pay Period: The start and end dates of the pay period.
3. Enter Information into the Paystub Maker
Follow these steps to create a pay stub:
- Log In or Sign Up: Some paystub makers may require you to create an account. Log in or sign up as needed.
- Choose a Template: Select a template that suits your needs. Most tools offer various designs and formats.
- Enter Personal and Employer Details: Input all relevant details, including the employee’s name, address, and Social Security number, as well as employer information.
- Input Earnings: Enter details such as gross pay, hourly rate, salary, and any bonuses or overtime. The paystub maker will calculate the total earnings automatically.
- Add Deductions: Fill in the deductions for taxes, Social Security, Medicare, and other withholdings. Ensure that the tool calculates these correctly based on current tax rates.
- Specify the Pay Period: Enter the pay period dates to ensure the pay stub reflects the correct time frame.
4. Review and Verify the Pay Stub
Before finalizing the pay stub, review the entered information:
- Check Calculations: Verify that gross pay, deductions, and net pay are calculated correctly.
- Review Dates: Ensure the pay period dates are accurate.
- Verify Details: Double-check all personal and employer information.
5. Download and Save the Pay Stub
After creating the pay stub, download and save it:
- Download: Most paystub makers allow you to download the pay stub in PDF format. This is a standard format for financial documents.
- Save: Store the pay stub securely on your computer or cloud storage. Create backups if necessary to prevent data loss.
6. Print or Share the Pay Stub
Depending on your needs, you may want to print or share the pay stub:
- Print: For a physical copy, use a printer to print the pay stub. Ensure it is clear and legible.
- Share: If you need to send the pay stub to someone, you can email the PDF or share it through a secure platform.
Common Pitfalls and How to Avoid Them
1. Incorrect Calculations
Pitfall: Errors in calculations can lead to inaccurate pay stubs.
Solution: Use a reliable paystub maker and double-check all calculations before finalizing the pay stub.
2. Outdated Tax Rates
Pitfall: Using outdated tax rates can result in incorrect deductions.
Solution: Ensure the paystub maker is updated with the latest tax rates and regulations. Verify current tax rates from official sources if needed.
3. Missing Information
Pitfall: Omitting essential details can make the pay stub incomplete.
Solution: Include all required information, such as employee and employer details, earnings, deductions, and pay period. Review the template to ensure all necessary fields are filled.
4. Using Unsecure Tools
Pitfall: Using unsecure paystub makers can compromise data security.
Solution: Choose a paystub maker with strong security measures and encryption to protect your personal and financial information.
Tips for Efficiently Managing Pay Stubs
- Regular Access: Regularly access and review your pay stubs to ensure accuracy and maintain updated records.
- Secure Storage: Store digital pay stubs in a secure location and create backups to avoid data loss.
- Stay Informed: Keep up with changes in tax rates and deductions to ensure your pay stubs remain accurate.
Conclusion
Getting your pay stubs from Chase is a straightforward process with the help of the Chase employee portal. For those who need to generate pay stubs manually or are independent contractors, using a free paystub maker offers a cost-effective and efficient solution. By following the steps outlined in this guide and avoiding common pitfalls, you can create accurate and professional pay stubs that meet your financial and documentation needs.
With the right tools and practices, managing your pay stubs can be an easy and organized process, ensuring you have the necessary documentation for tax purposes, income verification, and financial management.